TUTORIAL peto para niños!
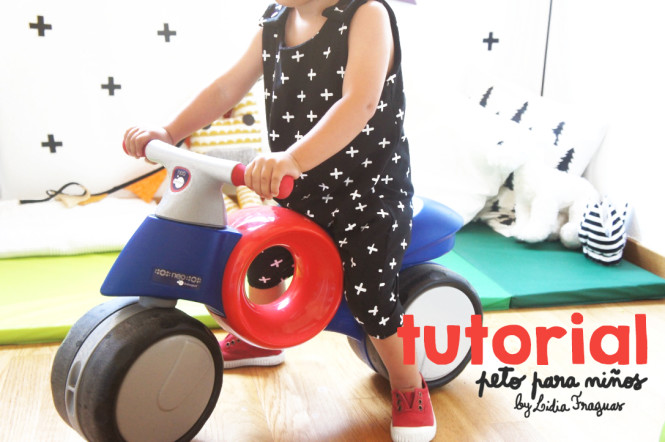
Lidia, de nuestro equipo de colaboradoras, nos trae hoy un TUTORIAL super chulisimoooo de un peto sin mangas que puedes hacer en versión de pantalón corto o largo! En este proyecto ha usado telas jersey, que son ideales para hacer ropa, en concreto los estampados de CRUCES y en color NEGRO, así como SNAPS de plástico.
“Para este romper he utilizado el patrón de Brindille & Twig, pero adaptándolo a pantalón corto. Este tipo de peto es muy práctico para el verano, tanto para ir a la playa como a la montaña, además de que los peques quedan super divertidos”
Y ahora que ya tienes todo preparado, aquí te dejamos el PASO A PASO acompañado de fotos para que no te falte ningún detallito:
– Primero cortamos las piezas que vamos a necesitar, dos para el peto y dos para el forro de dentro. También necesitaremos dos cuadrados de 5cm para reforzar los snaps (si queréis más refuerzo cortar cuatro cuadrados de 5cm, dos para la parte delantera y dos para la parte trasera)
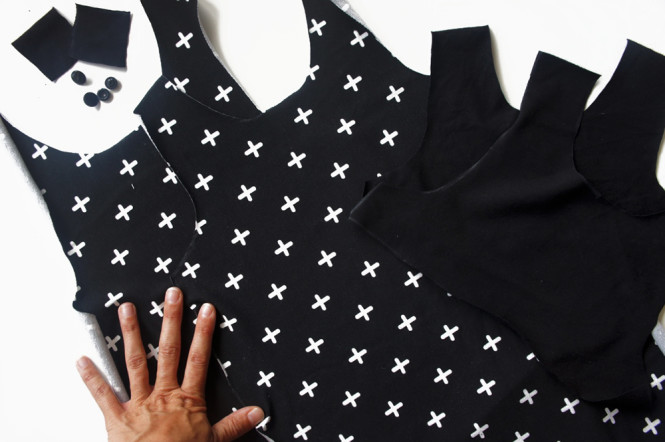
– Juntamos los forros con el peto, colocando bonito con bonito y ponemos en los hombros los refuerzos para los snaps.
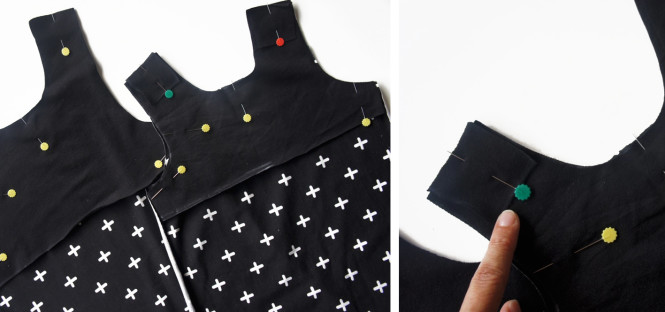
– Cuando ya tengamos los refuerzos colocados y el forro con alfileres, cosemos con la overlock como se ve en la foto. Si no tienes una overlock no hay problema, podrás coser jersey perfectamente en tu máquina haciendo algunos ajustes de tensión y, si quieres, colocando un prensatelas de doble arrastre. No te olvides de hacer zigzag a toda la vuelta para rematar!
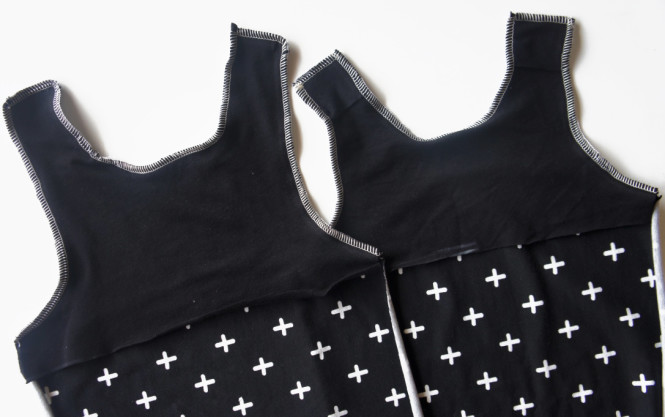
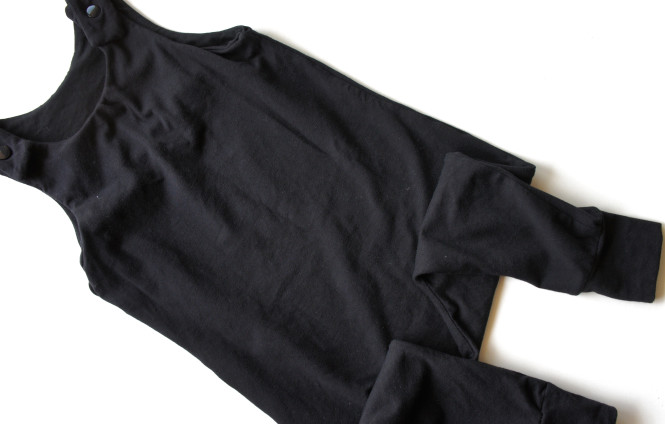
– Ahora es el momento de coser el peto. Juntamos la parte delantera con la trasera, de manera que quede bonito con bonito. Coseremos hasta la sisa de debajo del hombro y también la entrepierna. Al coser nos hemos de acordar SOBRETODO de subir las puntas del forro para que luego quede bonito.
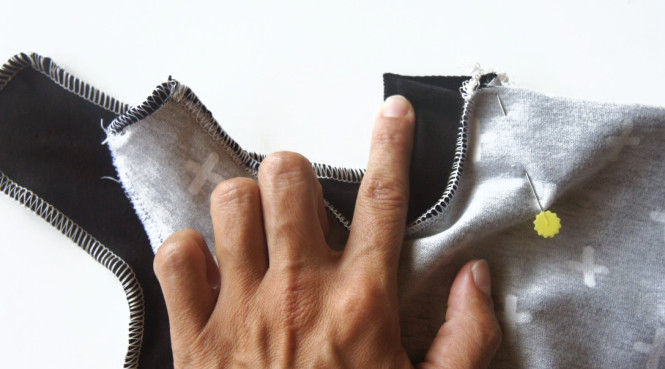
Una vez cosido tiene que quedar así:
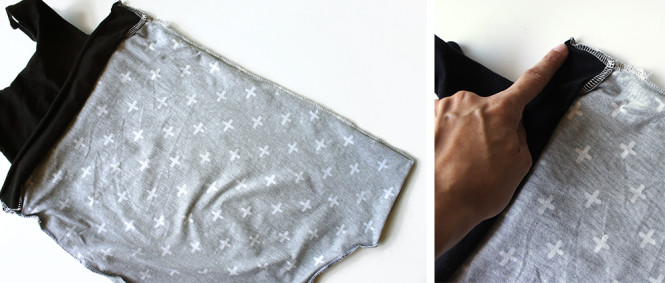
– Giramos el forro de manera que veamos el peto del derecho. Para que quede bien terminado podemos juntar las puntas del forro con la tela del peto y coser a mano por dentro.
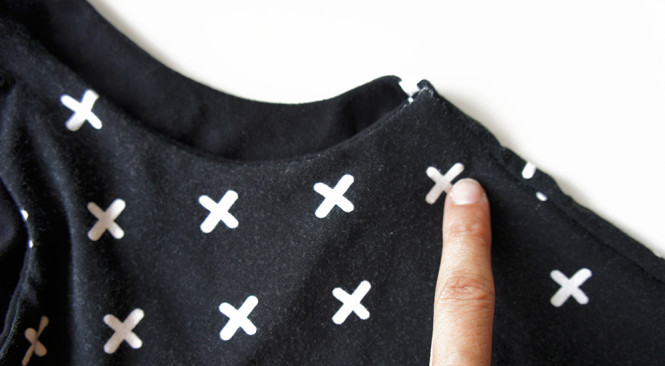
– Una vez cosido el peto y el forro pasamos a hacer el dobladillo de las piernas. Lidia lo he hecho con la máquina normal a punto normal usando la aguja doble. El último paso será colocar los snaps en los hombros.
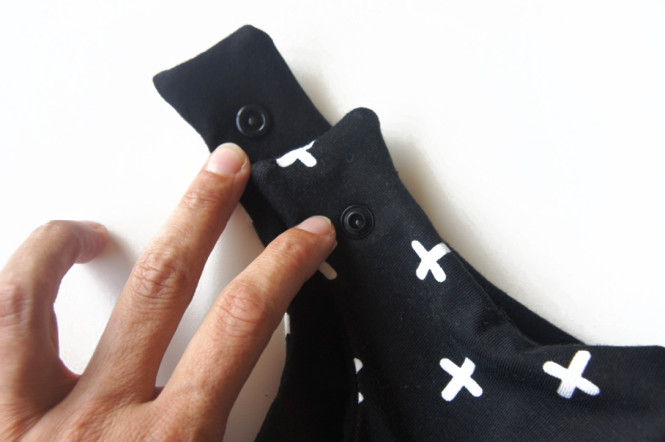
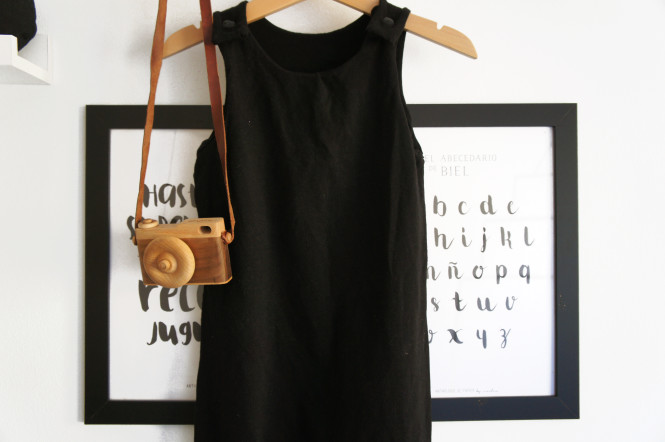
Y una vez colocados los snaps, ya se lo podemos poner!
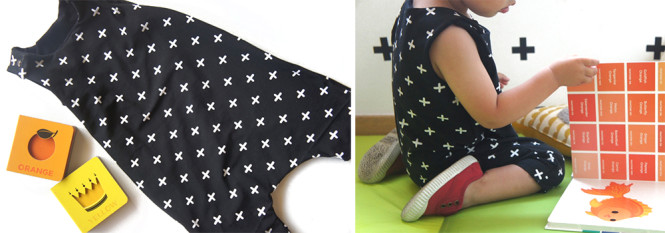
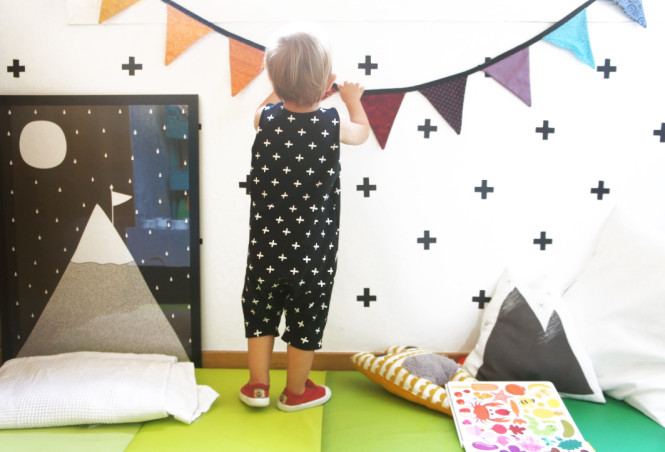
También podemos hacer la versión con pantalón largo, a nosotros nos encanta para los peques, y con la tela negro de punto queda precioso! Cualquier tela jersey quedará de muerte en este proyecto, sea lisa, a rayas o estampada. Practico, facilongo y moniiiiisimooo… no vas a poder parar de hacer petos!
¿Te animas a hacerlo? Hay un montón de TELAS DE JERSEY en la shop y estamos deseando ver que haces con ellas. Y ya sabes… nos haría mucha ilusión ver este y otros proyectos costuriles tuyos! Si cuelgas una foto, usa el hashtag #ilovekutchishop y así te podremos encontrar.
*Todas las fotos de este post están hechas por Lidia Fraguas.
![]()
Lidia, from our team of collaborators, brings us today a super duper TUTORIAL to make a sleeveless romper that tou can do in the short or long pants version! For this project Lidia has used jersey fabrics, which are ideal for making clothes, specifically the CROSSES print, solid color BLACK and plastic SNAPS.
“For this romper I used a pattern from Brindille & Twig, but adapting to short pants. This kind of romper is very handy for the summer, both to go to the beach and mountains, plus the kids love them”
And now that we have everything ready, here we leave the STEP BY STEP with photos so you don’t miss any details:
– First we cut the parts that we will need, two for the romper and two for the lining inside. We will also need two squares of 5 cm to strengthen the snap area (if you want more reinforcement cut four squares, two for the front and two for the rear)
– Put together the linings with the romper, placing front with front and put on the shoulders reinforcements for snaps.
– When we have placed the reinforcements and lining with pins, sew with the overlock as seen in the photo. If you do not have an overlock it’s not a problem, you can sew jersey perfectly in your machine making some adjustments of tension and, if you want, placing a double drag foot. Do not forget to zigzag all the way around to finish!
– Now is the time to sew the romper. Together the front with the back. Sew until the armhole below the shoulder and crotch. When sewing we have to pull out the tips of the linning so that it is sewn nicely.
– Turn the lining so that we see the romper finished. To have a good finishing you can sew together the lining to the romper by hand with some stitches.
– Once sewn the romper and the lining finish sewing the hemm of the legs. Lidia has done it with normal machine using the twin needle. The last step is to place the snaps on the shoulders. And once placed the snaps, they can wear it! You can also make the version with long pants, like this with the black jersey fabric. Any jersey fabric will be awesome in this project.
Do you dare to do it? There are plenty of JERSEY FABRICS in the shop and we are looking forward to see what you do with them. It would make us very excited to see this and other sewing projects of yours! If you hang a picture, use the hashtag #ilovekutchishop so you can find.
* All photos in this post are made by Lidia Fraguas.

Mega fan de gominolas, apasionada de los patterns, colorines y del mundo costuril… culpa de mi abuela. Voy siempre de bufanda o scarf, no importa si hace frio o calor y mi más reciente hallazgo es que no puedo vivir sin humus y sushi. Ahora soy un poco más ciega que antes.. cosas de la edad!
ILOVEKUTCHI es una marca registrada! Todos los derechos reservados


7 comentarios en «TUTORIAL peto para niños!»
Genial tutorial! Muchas gracias!
Pero habría la posibilidad de tener un patron en papel??? Sabéis donde puedo encontrarlo?
Gracias!
Hola Ainara! 😉 El patrón es de Brindille & Twig y puedes encontrar el enlance en el post! ^^ Gracias a ti!
Hola! Qué patrón es de todos los que aparecen en el enlace?
Ya tengo mis telas kutchi para empezar… ganas!
Hola Angela!
Creo que es este: https://brindilletwig.com/collections/one-piece/products/harem-romper-085
Happy costuraaaa!!!
muacs
gracias!!!
no se puede descargar los patrones.
Hola Paola! No son patrones de descarga inmediata. Son de Brindille & Twig y los tendrías que comprar a ella. 🙂