TUTORIAL funda para cojín!
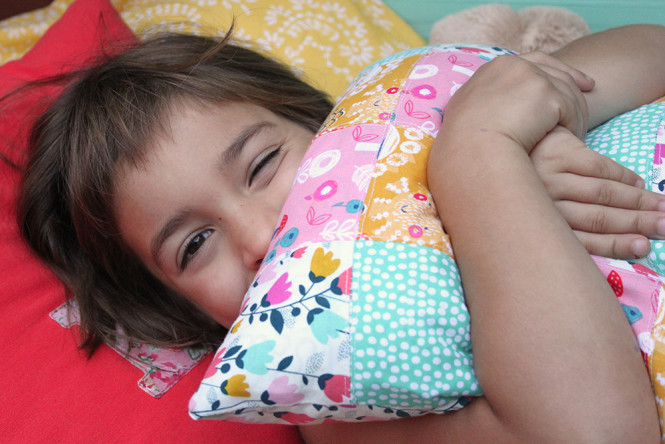
Este viernes viene cargadito con un nuevo TUTORIAL para hacer una funda para cojin al estilo patchwork, preparado por una de nuestras super colaboradoras, Mariona. Ha utilizado las telas FLURRY AQUA, SOL, CONEJOS y CAMPANILLAS. No me puede gustar más! Es ideal para darle una nueva cara a ese cojín que tienes abandonado por el salón…
Y no te entretengo que se que estas que te comes las uñas para ver todos los detalles. Ahí lo tienes, paso a paso, y apunta bien el material que vas a necesitar:
– 1 cojín cuadrado
– 4 telas combinadas entre sí (con trocitos de 45x55cm tienes suficiente)
– cinta bies
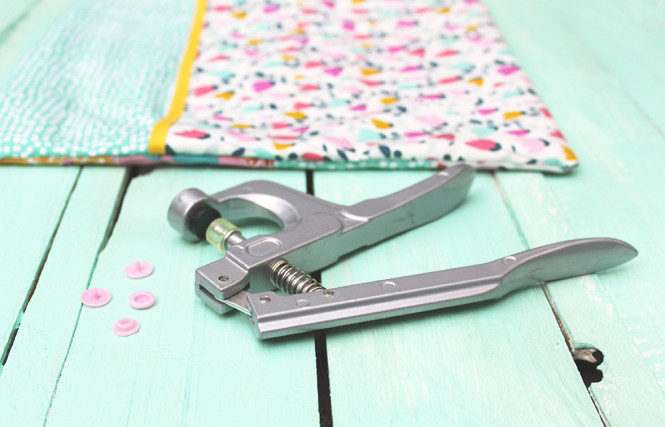
– botones snap o botones a presión
– máquina de coser
– básicos de costura
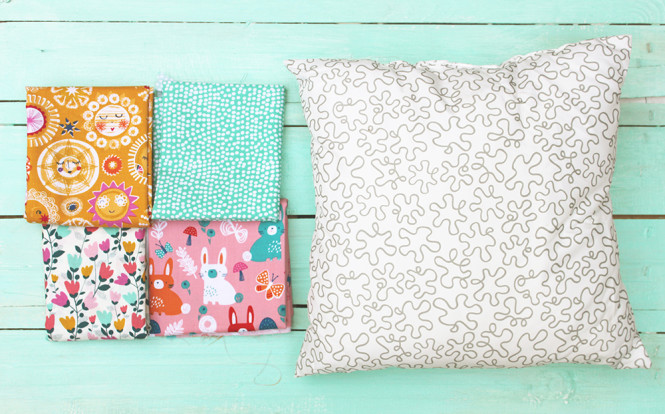
– Escoger un cojín (recomiendo que sea cuadrado, ya que va a ser más fácil que cuadren los retales sin tener que hacer muchos cálculos) y escoger las telas a combinar. En este caso he utilizado cuatro estampados. El cojín (este es de Ikea) mide 35 x 35cm. He dividido 35 por 4 = 8,75. Así que, contando con 1 cm, más o menos, de costura, he calculado que debo hacer 4 cuadrados de cada tela de 10 x 10cm.
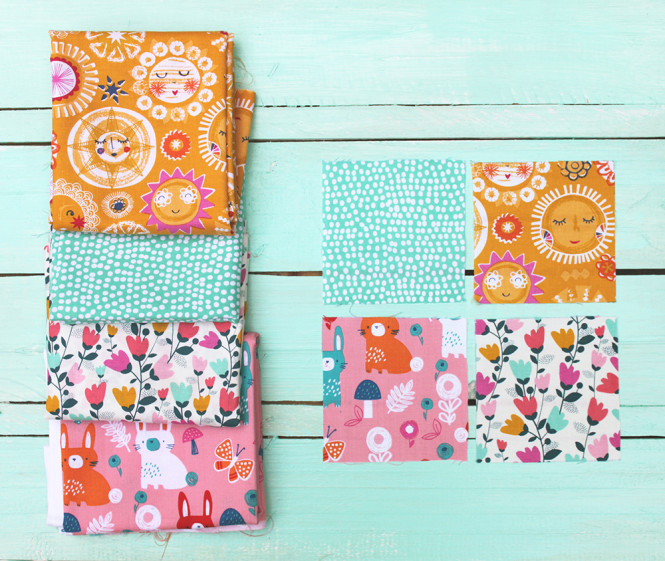
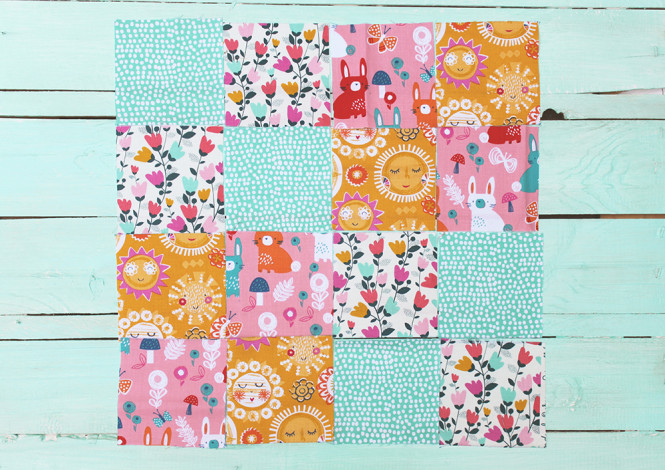
– Una vez cortados todos los cuadrados toca ordenarlos, encima de una superficie plana, y combinarlos a tu gusto. Y cuando los tengas ordenados, guárdalos en orden, por tiras (también puedes hacerles una foto).
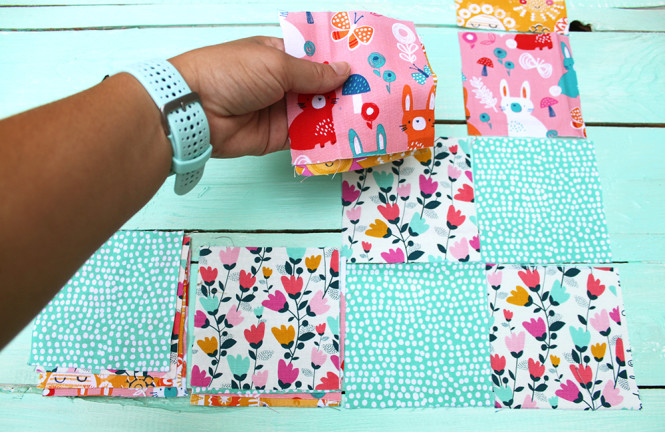
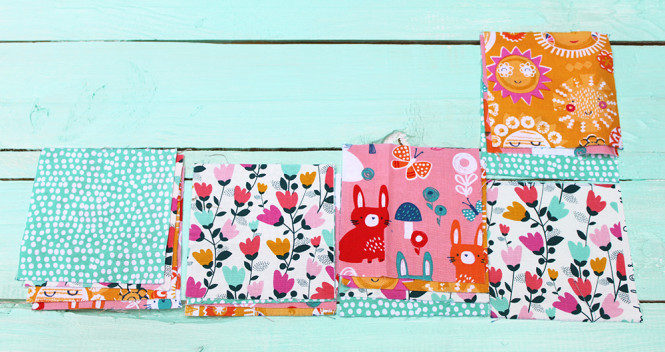
– Coser los cuadrados en tiras, como en la foto (contando el centimetro de costura). Te tienen que quedar 4 tiras con 4 cuadrados cosidos.
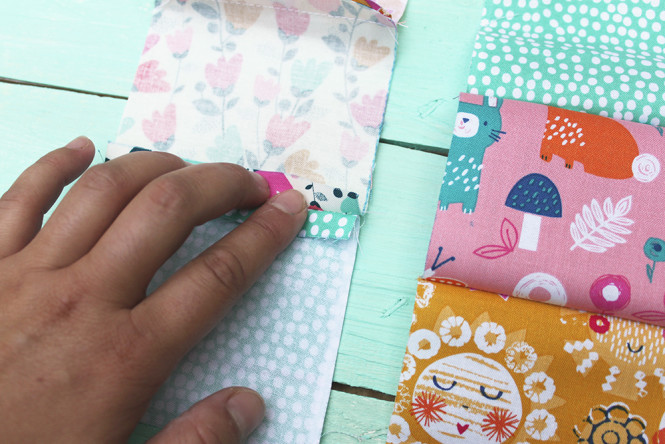
– Ahora toca coser las tiras entre si para formar lo que será la parte delantera del cojín. Primero debemos preparar las tiras con agujas, haciendo coincidir las costuras. Primero hacemos dos tiras y después cosemos las otras dos que quedan.
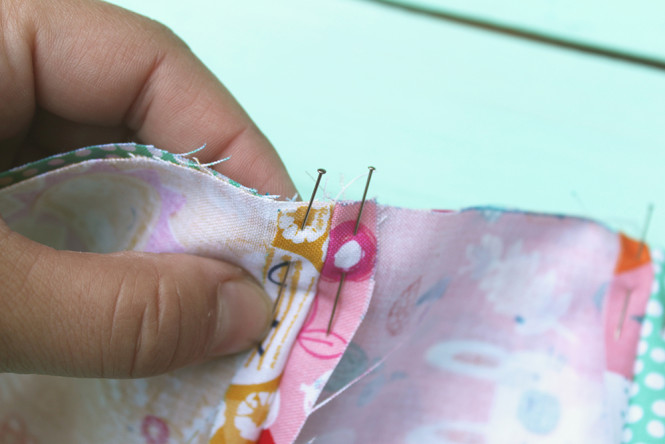
– Ahora para embellecerlo vamos a coser un pespunte por todas las líneas, un pespunte a cada lado. Yo he hecho primero las horizontales y después las verticales. De esta manera también conseguimos que no se noten las costuras cuando tengamos montado el cojín.
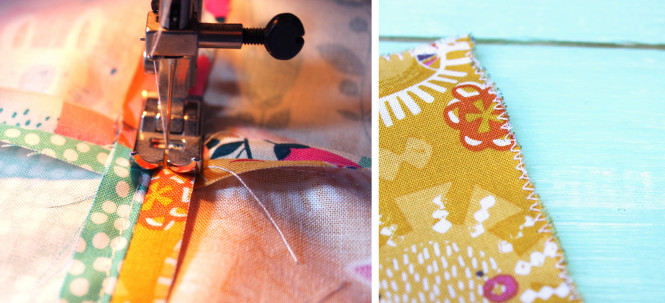
– Acabamos haciendo zigzag a todo alrededor del cuadrado. Y ya tenemos la parte de delante preparada. Reservamos.
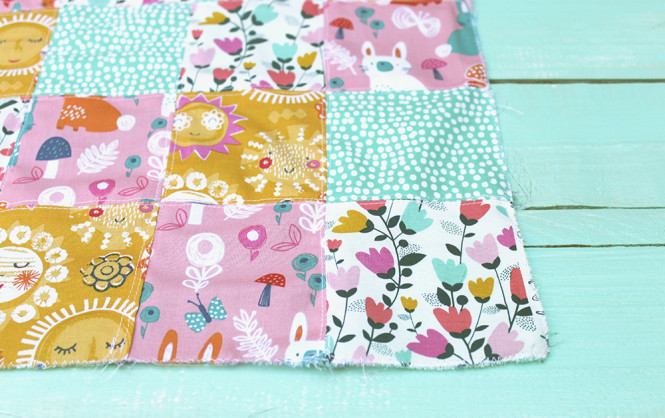
– Para hacer la parte de detrás del cojín, escogemos 2 telas de las que hemos utilizado, que combinen bien entre ellas o las que más te gusten. Las cortamos, en el caso del cojín que he utilizado: una tela de 35 x 17cm, otra tela de 35 x 23cm y una parte debe ser más grande que la otra ya que va a hacer de sobre para poder poner el cojín y que quede bien cerrado, después. Cose un zigzag alrededor de las 2 piezas.
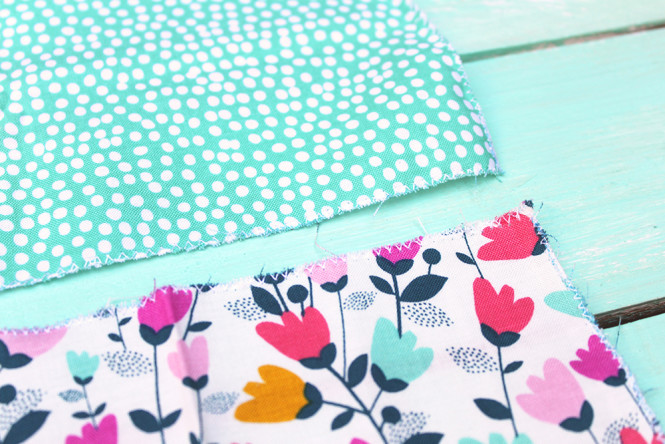
– Cosemos el bies a la tela más grande.
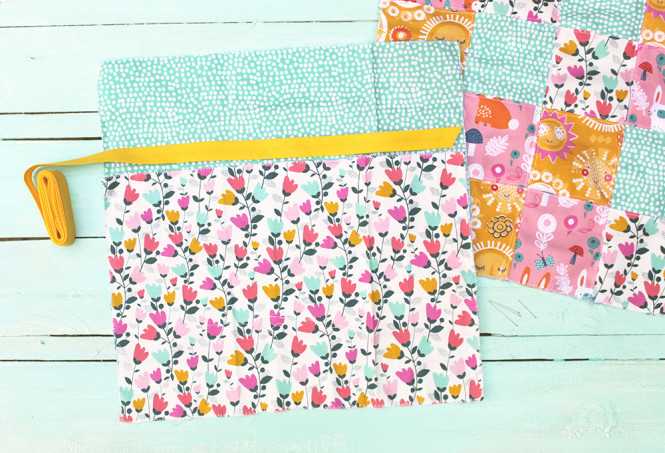
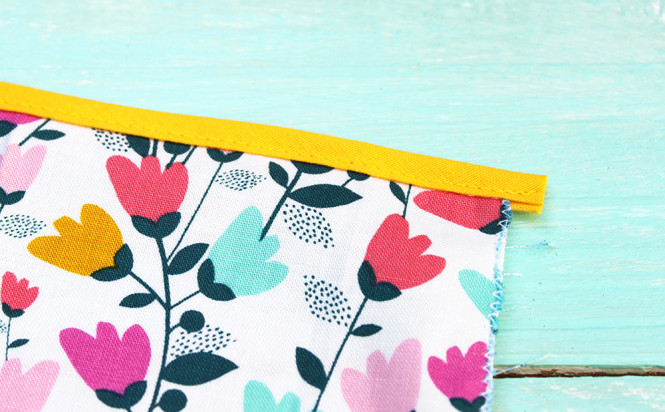
– Colocamos bien las 3 partes del cojín que tenemos. Bonito con bonito, colocamos, primero mirando hacia arriba la parte de los cuadrados que teníamos reservado, encima colocamos bonito con bonito, la tela donde hemos cosido el bien y después, haciendo coincidir los bordes, la tela más pequeña. Preparamos con agujas a todo su alrededor.
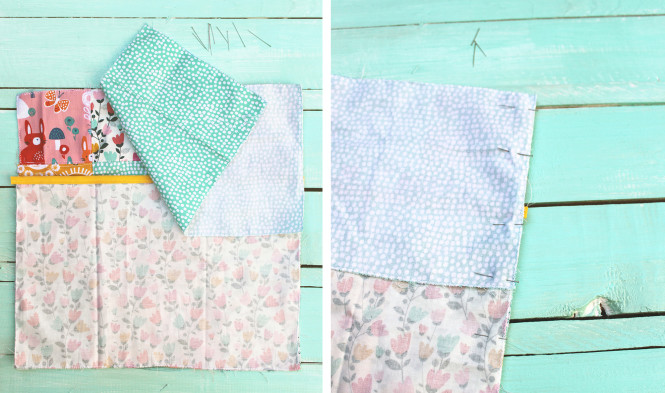
– Cosemos los 4 costados seguidos y damos la vuelta.

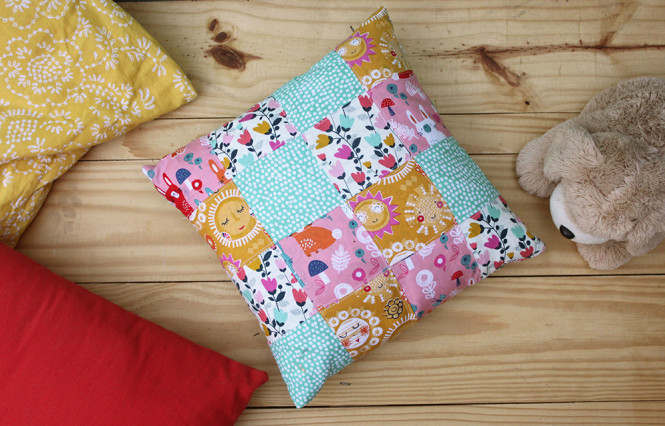
– Y ya tenemos nuestra funda de cojín handmade!
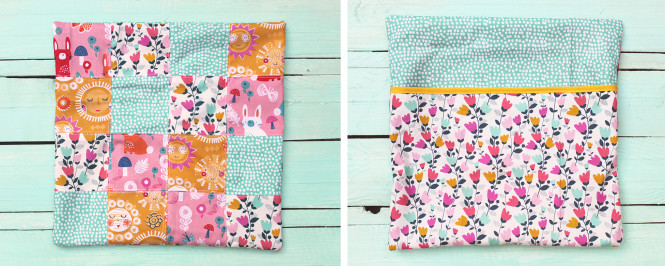
– Para acabarlo y que cierre perfectamente, pondremos 2 snaps en la parte trasera del cojín. Ponemos el cojín dentro de la funda, cerramos los snaps y ya está!
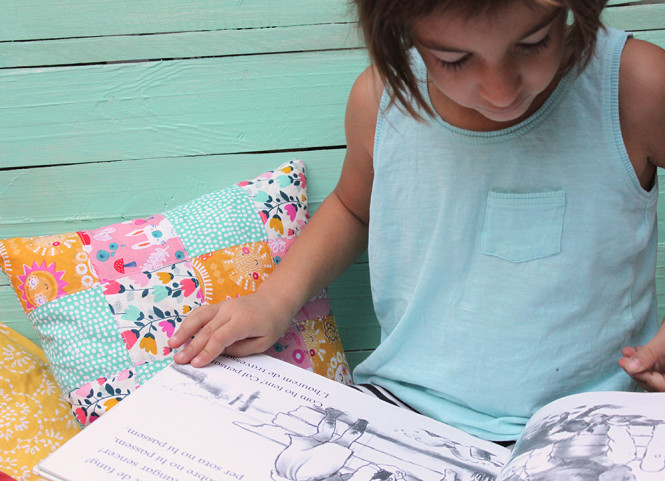
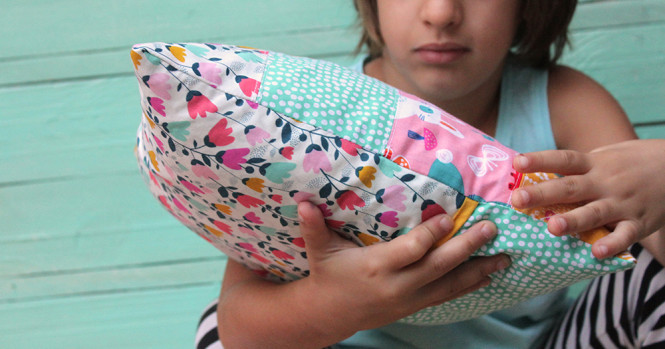
Y esto esta hecho berberecho. Fácil y resultón! Bonito por delante y por detrás y la vidilla que le ha dado al cojín no tiene precio. Mirando las fotos yo creo que hay alguien muy contenta con las ideas costuriles de su mamá.
¿Te animas a hacer una funda de cojin con algunas de nuestras telas? Nos haría mucha ilusión ver este y otros proyectos costuriles tuyos! Si cuelgas una foto, usa el hashtag #ilovekutchishop y así te podremos encontrar.
*Todas las fotos de este post están hechas por Mariona Cardona.
![]()
This Friday comes with a new TUTORIAL to make a cushion cover in patchwork style, prepared by one of our super partners, Mariona. She used the fabrics FLURRY AQUA, SUN, RABBITS and SNOWDROP FLOWERS. It is ideal to give a new face to the cushion you have abandoned in the living room…
And I will not entertain you more. There you have it, step by step, and write down the material you will need:
– 1 square cushion
– 4 fabrics combined with each other (you have enough with 45 x 55cm pre cuts)
– bias ribbon
– snap buttons or snaps
– sewing machine
– basic sewing
– Choose a cushion (I recomend square because it will be easier to add up the scraps without having to make many calculations) and choose the fabrics to combine. In this case I used four prints. The cushion (this one is from Ikea) measures 35 x 35cm. I divided 35 by 4 = 8.75. So, with 1 cm or so for sewing allowance, I have calculated that I need 4 squares of each fabric 10 x 10cm.
– Once all the squares are cuted, sort them out on a flat surface, and combine them to your taste. And when you have ordered it, keep them in order by strips (you can also take a picture).
– Sew the squares into strips, as in the photo (counting the sewing centimeter). You now have 4 stripes with 4 squares sewn.
– Now sew the strips together to form what will be the front of the cushion. First we must prepare the strips with needles, matching seams. First we make two strips and then sew the other two remaining.
– Now to make it more pretty we will sew a stitch for all lines and stitch on each side. I made first horizontal and then vertical. In this way we also got the seams are not noticed when we mount the cushion.
– We do zigzag all around the square. And there you have, the front. Reserve.
– To the back, choose 2 of the pattens which we used, that combine well with each other or that you like. Then cut, for this measurements: a fabric of 35 x 17cm and other fabric of 35 x 23cm, a portion should be larger than the other because it will make over to put the pad and make it tightly closed. Sew a zigzag around the 2 pieces.
– Sew the bies in the largest fabric.
– Put the 3 parts of the cushion together. Place the good faces together, putting the piece with bias first and then the other above, match the edges and prepare with needles all around.
– Sew all 4 sides and turn.
– And we have our handmade cushion cover!
– To finish and close perfectly, add 2 snaps on the back of the cushion. Just put the pad inside the case, close the snaps and you’re done!
Easy peasy! Nice in the front and back, and an all new fresh look to the cushion is priceless. Looking at the pictures I think there is someone very happy with the sewing ideas of her mother.
Do you dare to make a pillowcase with some of our fabrics? We would be thrilled to see this and other sewing projects of yours! If you do a picture, use the hashtag #ilovekutchishop and so you can find.
* All photos in this post are made by Mariona Cardona.
Mega fan de gominolas, apasionada de los patterns, colorines y del mundo costuril… culpa de mi abuela. Voy siempre de bufanda o scarf, no importa si hace frio o calor y mi más reciente hallazgo es que no puedo vivir sin humus y sushi. Ahora soy un poco más ciega que antes.. cosas de la edad!
ILOVEKUTCHI es una marca registrada! Todos los derechos reservados
